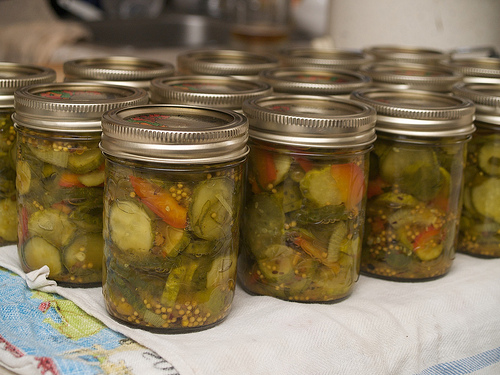
Growing up there was always a constant supply of pickles of every kind available on the table, with every meal. If my mother wasn’t making them, my grandmother was definitely keeping us well stocked. If I remember correctly, my mother made mostly dills, as well as pickled beets, while my grandmother made a bit of everything: dills, gherkins, icicle pickles (bleck!) and one of my favourites, bread and butter pickles.
I did a bit of searching online to find out why they’re called bread and butter pickles. According to some, it’s because during the Depression, they were as standard a part of any meal as bread and butter. They’re also differentiated from other kinds of sweet pickles by the inclusion of turmeric, onion and mustard seed.
I have only seen one harvest-sized cucumber on my vines so far, so a couple weeks ago I picked up four quarts from the farmers’ market downtown and whipped these babies up. They were a little more work than dills, but from what I’ve tasted so far (one jar didn’t seal in the canning bath so I’ve been munching on it in from the fridge already), they’re perfect.

Bread & Butter Pickles
Adapted from the Bernardin Guide to Home Preserving
- 6.5 lbs / 3 kg pickling cucumbers, washed and sliced 1/4 inch thick
- 1 large onion, thinly sliced
- 1 sweet red pepper, sliced thinly
- 1/3 cup pickling salt
- 5 cups white vinegar
- 1 1/4 cup sugar
- 1/2 cup pickling spice
- 1 tsp celery salt
- 1 tsp ground turmeric
- In a large glass or stainless steel bowl, layer cucumbers, onions and peppers, sprinkling each layer with salt. Cover and let stand 15 minutes.
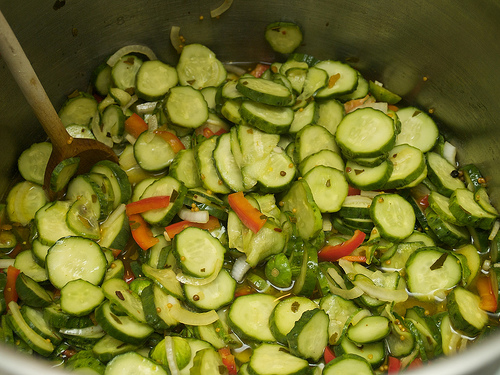
- Combine vinegar, sugar, pickling spice, celery salt and turmeric in a large, stainless steel pot (large enough to hold all the vegetables as well as the vinegar mixture). Cover and bring to a boil. Reduce heat, boil gently for 15 minutes.
- Drain vegetables and add to pickling mixture, mixing well. Return to a boil.
- Pack cucumbers into hot, sterilized jars within 3/4 inch of the rim. Add hot pickling liquid to cover vegetables within 1/2 inch from the rim.
- Wipe jars to remove stickiness, and put on snap lid, tightening the screw ring only until resistance is met.
- Place jars into boiling water canner. Bring to a boil and process filled jars for 10 minutes. Remove from canner and allow to cool, stored upright, for 24 hours, undisturbed. Sealed lids will curve downwards. Any unsealed jars can be stored in the refrigerator and eaten first.
Yield: about 7 500 ml jars; or 14 250 ml jars (as in my case).